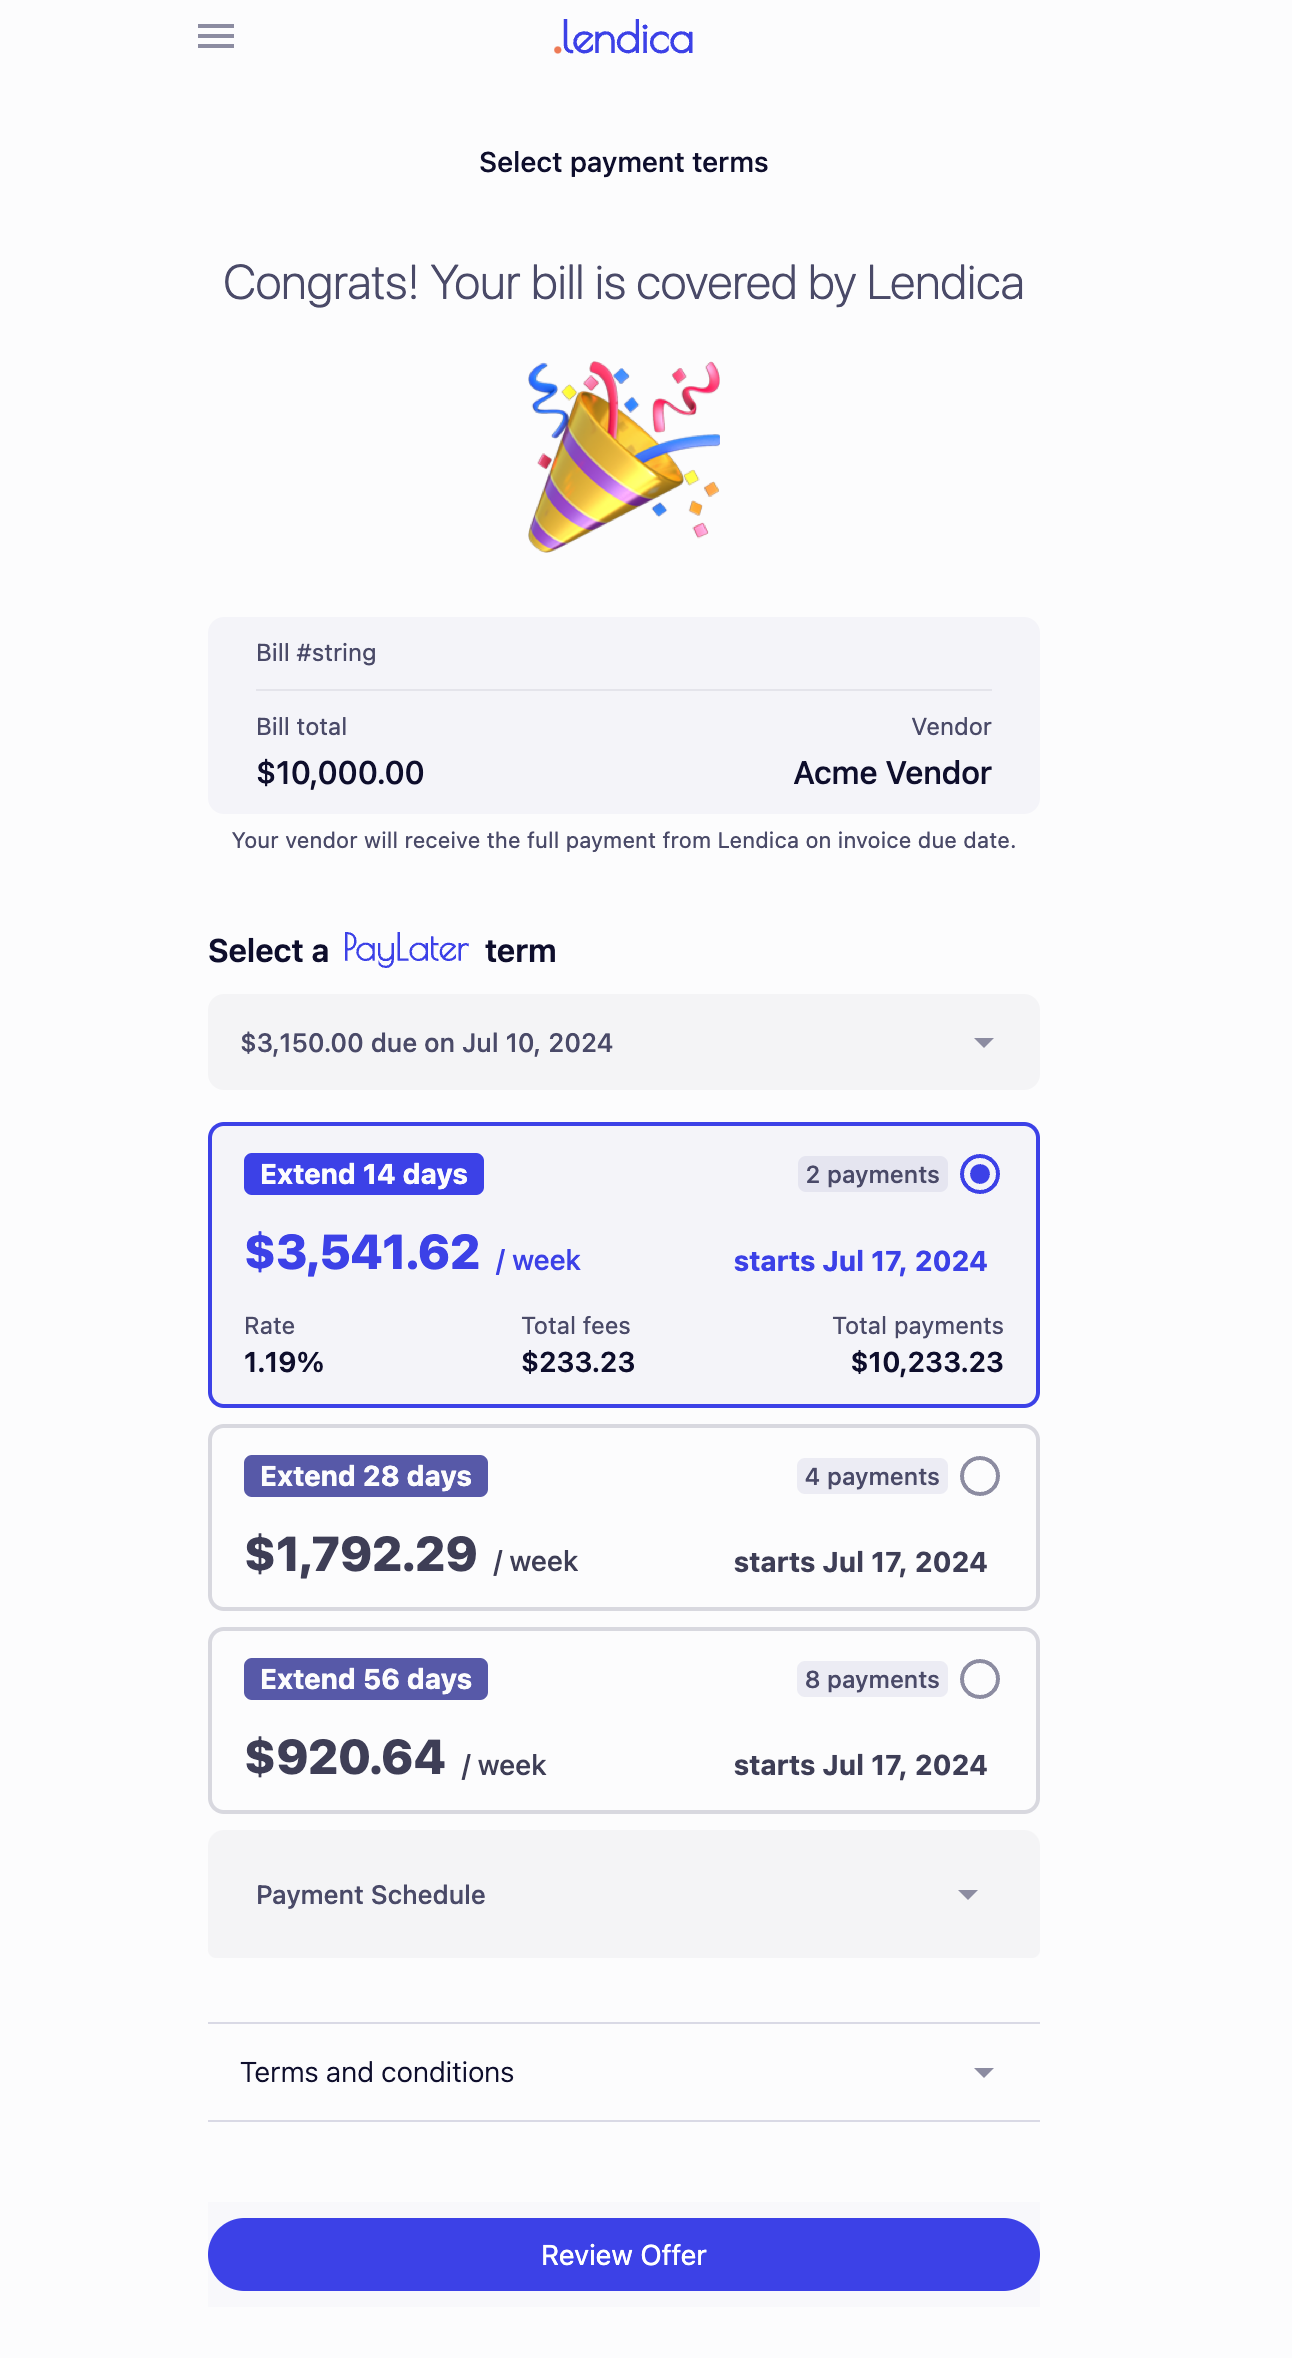
This route processes a partner bill for the Lendica PayLater program
Overview
This endpoint accepts a bill details object and returns a link to the Lendica PayLater flow. This link allows users to review their terms, select options, and get funded.
Note that if partners would like to submit multiple A/P invoices as one Bill, they can include the
child_billswith the parent bill.
Workflow Summary:
- Initiate PayLater: When a customer opts for PayLater, the partner platform submits an object containing transaction details and posts it to Lendica.
- Redirect to PayLater App: Lendica processes the object and returns a URL that directs the customer to the PayLater app.
- User Authentication and Application: In the PayLater app, the customer logs in, completes an application if necessary, and confirms payment terms.
- Completion: If using the checkout integration type, Lendica redirects to the
return_urlprovided in the request after the PayLater process is complete.- The return page should make a request to Lendica's status endpoint to obtain the status of the bill.
- If the status is
complete, the partner system should redirect to a confirmation page and mark the invoice as paid. - If the status is
open, the invoice is not paid. Redirect back to the original page and provide an option to choose a different payment method.

Step-by-Step Integration Guide
Step 1: Initiate PayLater
Triggering the Checkout
The process begins when a customer selects PayLater from the partner platform. Upon this action, bill details are submitted to Lendica. Please review the data schema on this page.
Step 2: Open the Lendica Checkout URL
Upon receiving the Checkout object, Lendica processes it and returns a URL:
https://checkout.app.golendica.com/{params}
The partner system can choose to handle this URL in one of two ways:
- Redirect to this URL in the same window
- Open a popup or fullscreen modal and load the URL inside an iframe.
Step 3: Lendica Application and Invoice Confirmation
Within the PayLater app modal:
- Users will log in to their Lendica account.
- New users will complete the application process.
- Users confirm their invoice details and select their preferred payment terms.
Step 4: Vendor Payment Details
If Lendica is not paying the partner platform directly, we must retrieve the vendor's bank details in order to fund the invoice. It is required to send either the vendor's complete bank details or the vendor's email along with the checkout object.
If the vendor's bank details are not included in the object and the pay_partner_platform value is False, Lendica will send a registration form to the vendor using the email included in the checkout object, allowing them to connect their bank account. Vendors will only need to register once.
Step 5: Redirect and check status in a partner-hosted return page
After the Lendica process is complete, Lendica will redirect to the return_url provided in the request.
The return page should perform the following actions:
-
Extract the
partner_invoice_uuidfrom the URL parameters:- The
return_urlwill have thepartner_invoice_uuidparameter.
- The
-
Make a request to Lendica's status endpoint:
- Use the
partner_invoice_uuidto check the status of the bill.
- Use the
-
Handle the status accordingly:
- If the status is
complete, redirect the user to a confirmation page indicating that the bill has been paid. - If the status is
open, redirect the user back to the original page and provide an option to choose a different payment method.
- If the status is